 Skip to content
 In wastewater treatment, foam in aeration tanks is a frequent challenge for operators. Foam not only affects effluent quality but can also disturb stable system operation.
Today, let’s go through the common foam types, their causes, and identification methods. This will help you solve the problem more efficiently.
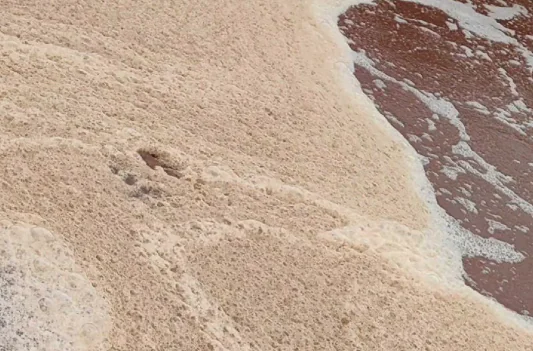
1️⃣ Yellow-Brown Foam: A Sign of Sludge Aging
🟤 Appearance: Yellow-brown or dark brown, similar to sludge color. Foam breaks easily and usually appears near aeration zones.
⚙️ Causes:
- Sludge disintegration
- Floc structure broken
- Organic release increases
- Water viscosity rises
🔍 How to identify:
- SV30 test shows aged sludge settles fast, supernatant is clear but with scum
- Sludge is darker, more compact, sometimes sticky
✅ Solution: Spray clean water or add nitrification agents to suppress foam quickly.
2️⃣ White Foam: High Load or Over-Aeration?
⚪ White foam appears under three conditions:
- High organic loading
- Over-aeration
- Surfactant residue
🔍 How to identify:
- High-load foam: Thick, sticky, not easy to break, strong accumulation. SV30 shows poor settling and turbid supernatant.
- Over-aeration foam: Old white, fragile, with small bubbles trapped between flocs.
- Surfactant foam: Floating on the water surface, easy to treat by spraying water or adding a small amount of defoamer.

3️⃣ Gray-Black Foam: A Warning of Low Dissolved Oxygen
⚫ Gray or black foam shows oxygen shortage in the system. Possible causes:
- Dead zones in tanks
- Uneven aeration
- Sludge layer too thick
🔍 How to identify:
- Foam turns from gray to black, lasts long on surface
- More anaerobic zones appear, sludge may turn black and smelly
✅ Solution:
- Optimize aeration design
- Adjust DO level
- Remove dead zones in the system

📝 Conclusion
Accurately identifying foam type is the first step to keeping aeration tanks stable and efficient.
💡 Suggested routine checks:
- SV30 test
- Microscopic examination
- DO monitoring
These steps allow early warning and targeted solutions.
